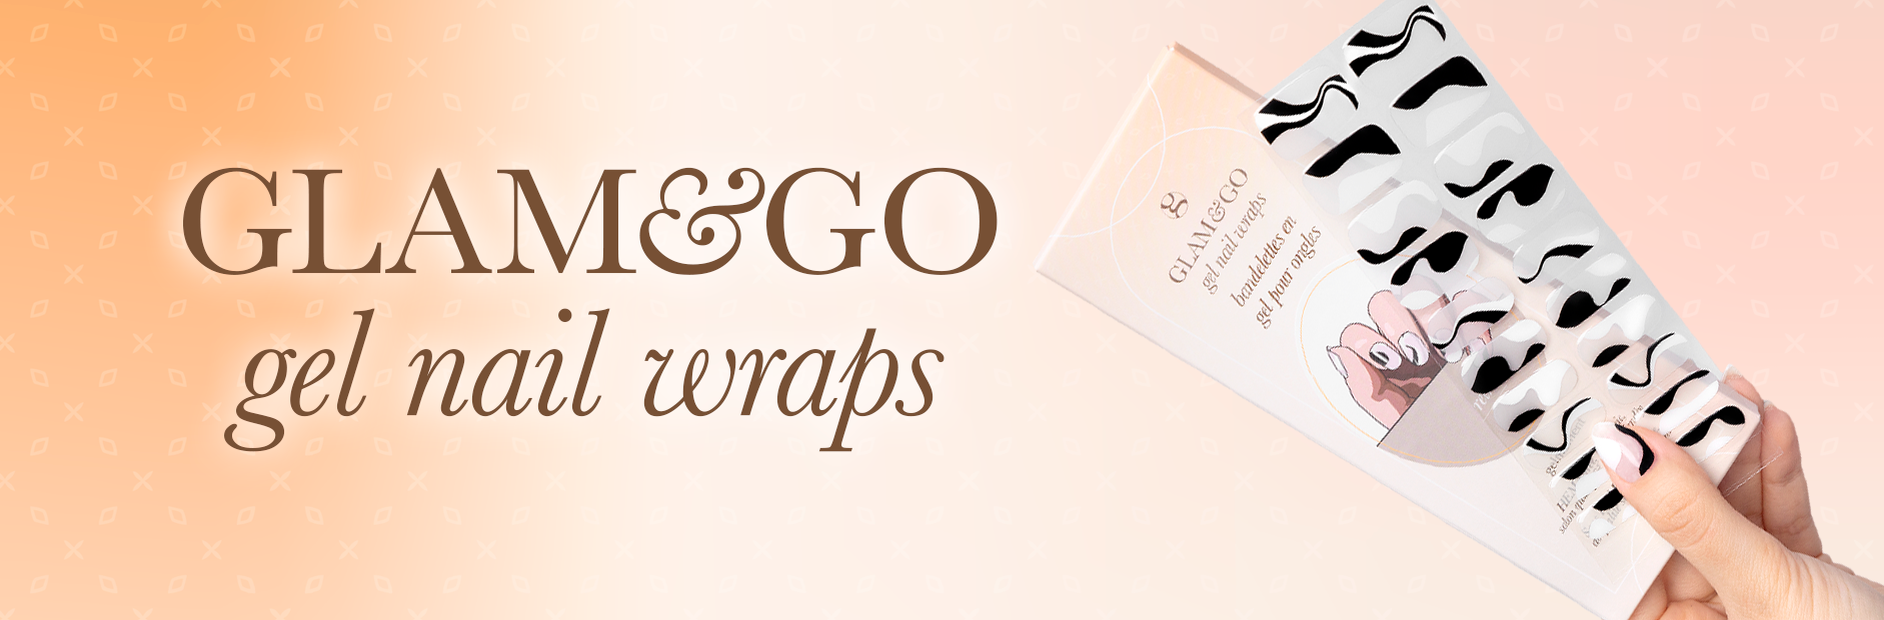
GLAM&GO
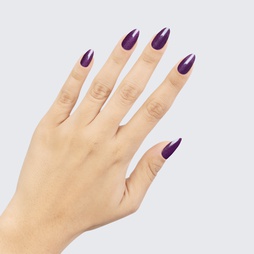
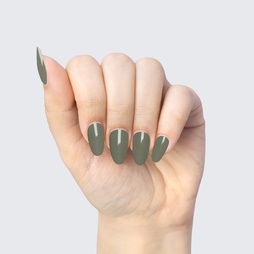
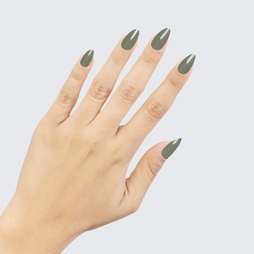
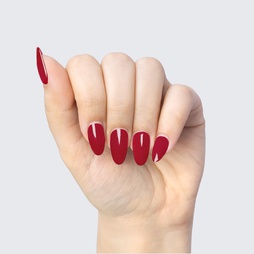
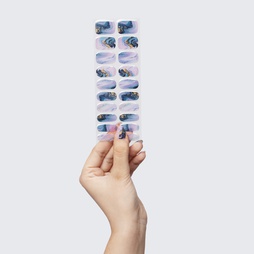
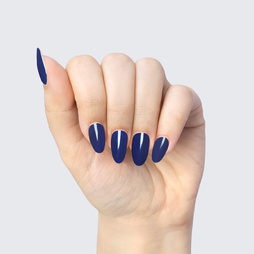
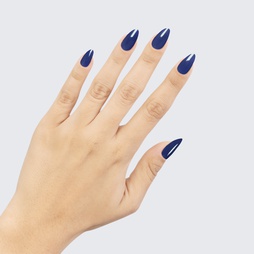
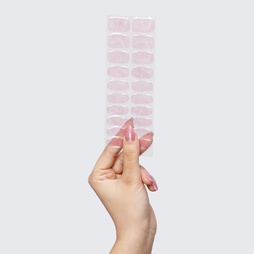
gel nail wraps
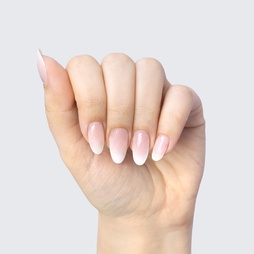
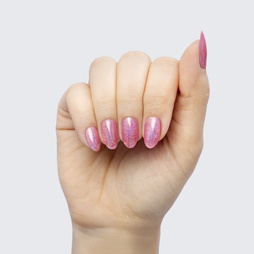
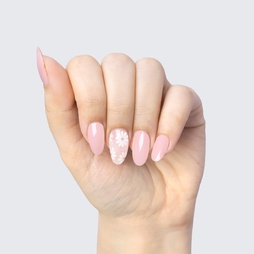
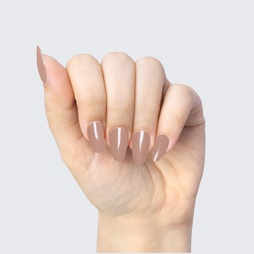
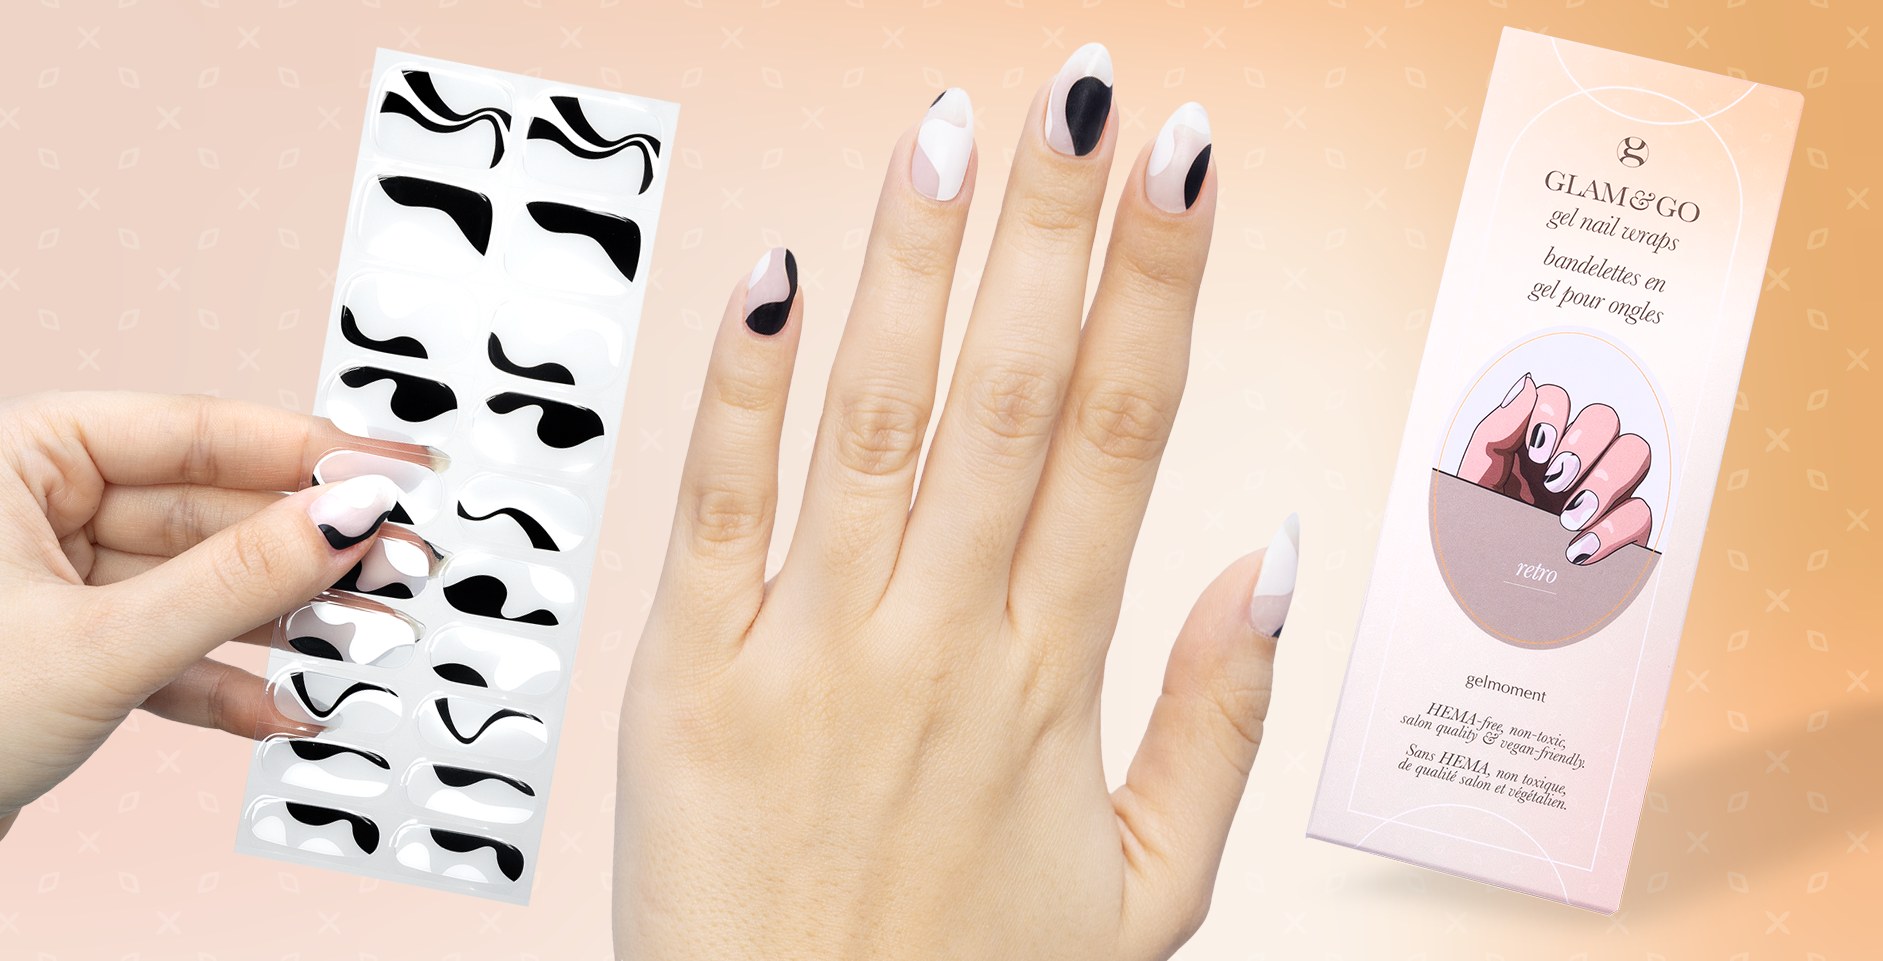
Take a moment to give yourself a head-turning, DIY gelmoment experience in a few easy steps with our GLAM & GO gel nail wraps.
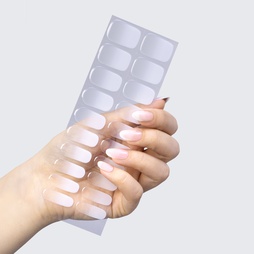
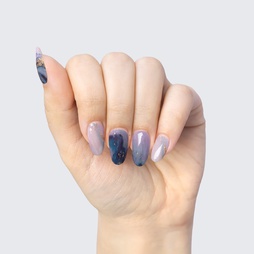
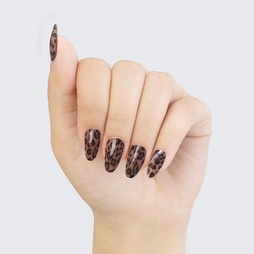
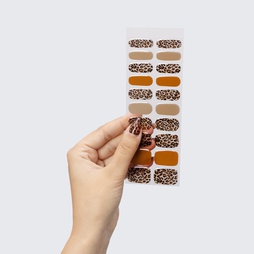
Our GLAM & GO gel nail wraps ensure that no matter how complex your chosen nail design, the application process remains incredibly simple. Our GLAM & GO gel nail wraps require no glue, base coat, or top coat—just peel them off the packaging, apply them to your nail, trim to size, cure twice, and voilà!
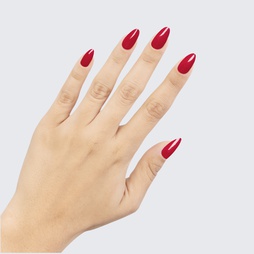
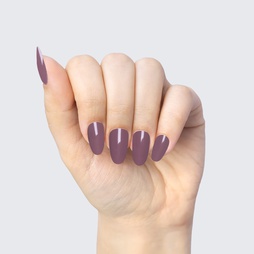
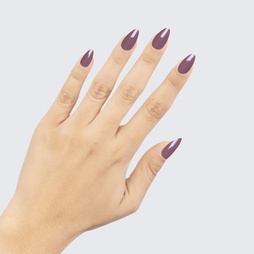
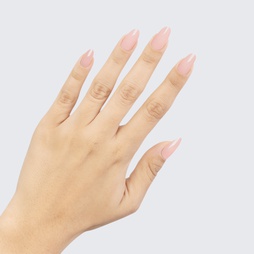
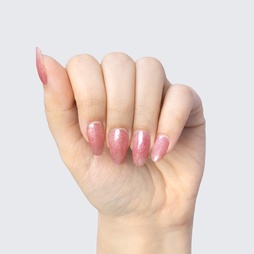
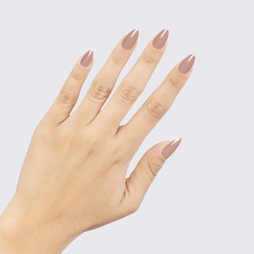
Plus, not only do GLAM & GO gel nail wraps provide the same glossy finish you know and love from our regular gel polish, but they are also HEMA FREE and have a wear time of up to 14+ days.


Non-toxic, Lead-free, Latex-free.

Vegan friendly - does not contain animal ingredients or by products.

Simple application process. No glue, base coat or top coat required.

Cruelty free - not tested on animals.

5+ free - free of dibutyl phthalate, toluene, formaldehyde, formaldehyde resin or camphor.

Salon quality - long lasting, up to 14 days.
POLYACRYLIC ACID, ACRYLATES COPOLYMER, GLYCERINE PROPOXYLATE TRIACRYLATE, ISOPROPYLTHIOXANTHONE. MAY CONTAIN: D&C RED NO.6 BARIUM LAKE, D&C RED NO.7 CALCIUM LAKE, FD&C YELLOW NO.5 ALUMINUM LAKE, D&C YELLOW NO.10, FD&C BLUE NO.1, BLACK IRON OXIDE, TITANIUM DIOXIDE, ALUMINUM POWDER, BISMUTH OXYCHLORIDE, MICA, ISOBUTYLPHENOXY EPOXY RESIN, POLYETHYLENE TEREPHTHALATE.
For external use only. Keep out of reach of children. Store in a cool dry place away from direct sunlight, in the original packaging to avoid hardening.
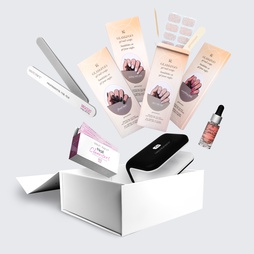
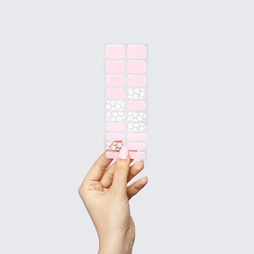
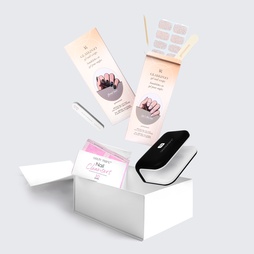
Each package comes with 20 gel nail wraps. 1 nail file and 1 wooden stick.
Made in PRC


Application instructions
1.
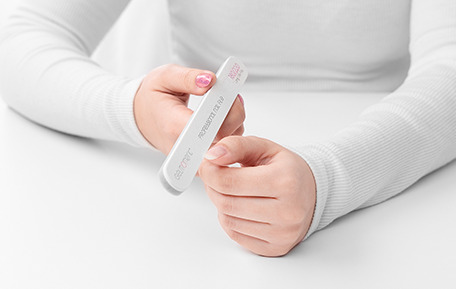
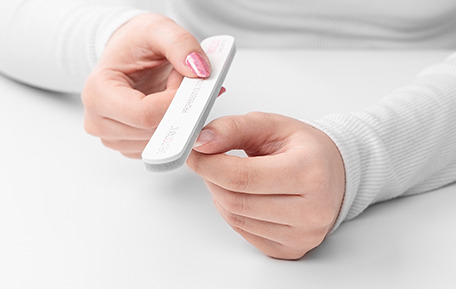
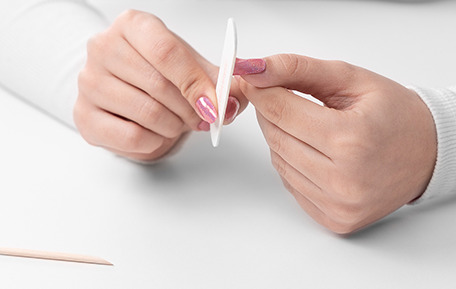
a. The edge of the nail should be smooth; if necessary, use a gelmoment nail file to gently file and shape it.
b. Buff the surface of the nail, including corners. Do not polish or shine.
2.
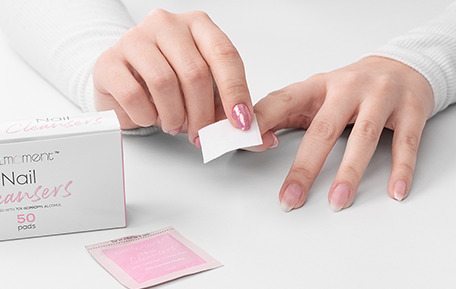
Wipe the nail clean with gelmoment nail cleansers. Make sure the nails are clean and completely dry before moving on to the next step.

3.
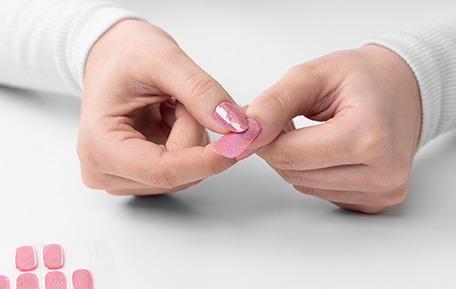
Choose the right size gel nail wrap and peel off the clear protective film.
4.
Carefully place the gel nail wrap on your nail, ensuring it is properly centered. Leave space between the gel nail wrap and your cuticles and skin around your nail.
5.
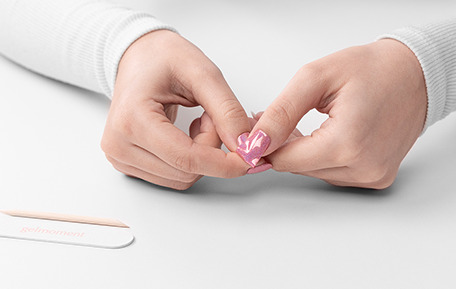
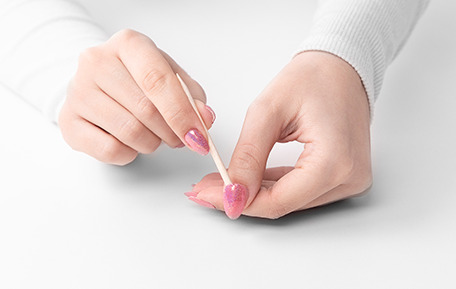
Once the gel nail wrap is in position, use the wooden stick provided to apply pressure around the edges and secure it in place.
6.
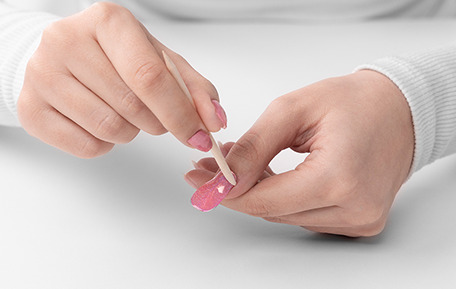
Pull the excess length of the gel nail wrap outward and down, slightly stretching it until it folds over the free edge of your nail.
7.
Trim the excess gel nail wrap and use the file provided to file off the remaining excess in a downward motion.
8.
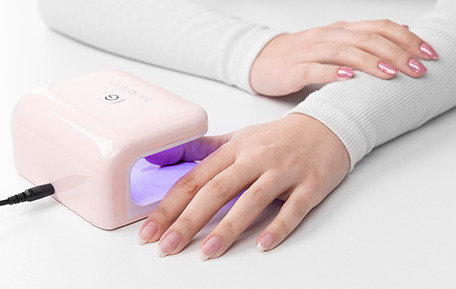
Cure the gel nail wraps TWICE using a gelmoment LED lamp of your choice. (Our gel nail wraps are thicker than our gel polish, so two curing cycles are required to achieve optimal results).
Removal
Use the wooden stick provided to gently lift the nail sticker off your nail.
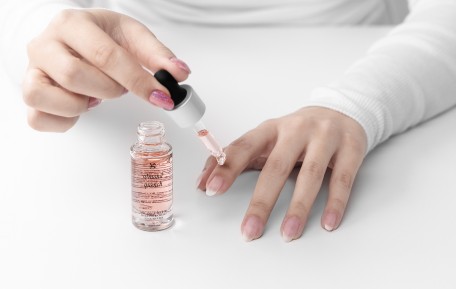
PRO TIP: Provide hydration to your nails between manicures by using any of our nail & cuticle oils.