1. The nail should be smooth and prepped; if necessary, use a gel moment nail file to lightly smooth edges, being sure to file in one direction, to avoid splitting.
2. Using the cushioned side of the nail file, very lightly buff the shine off the nail surfaces, including the sides and corners. Do not apply pressure. You are only buffing to remove naturally occurring oil on your nail.
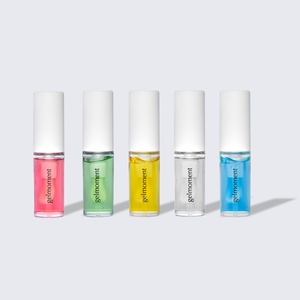
3. Cleanse the surfaces of the nails with
gel moment nail cleansers, making sure the nail is clean and completely dry in all areas before moving onto the next step.
4. Before gel polish application, gently roll the polish bottle between the palms of your hands. Avoid shaking or aggressively rolling, as this can produce air bubbles.
5. Apply a very thin coat of gel moment gel polish. Most colours will appear translucent when it is applied thinly. This is normal and applying additional thin layers later makes it easy to achieve the desired effect. When applying the gel polish be sure to avoid getting any polish on the surrounding skin or cuticles. To ensure a long-lasting chip-free manicure, apply polish to the free edge to
"cap the nail", taking care to avoid contact with the skin of your fingertip.
6. Cure your nails with a gel moment LED lamp according to the lamp's instructions. It will shut off automatically when the curing process is complete. Keep the bottle of polish away from the lamp during the curing process.
7. If you're applying additional coats of polish, repeat steps 5 and 6.
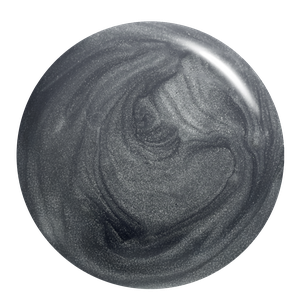
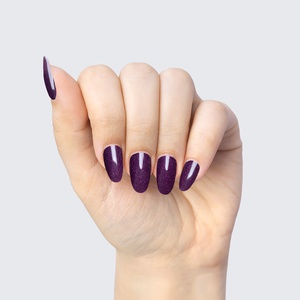
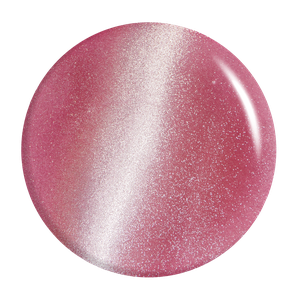
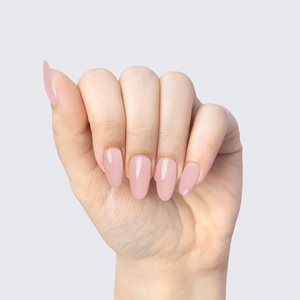
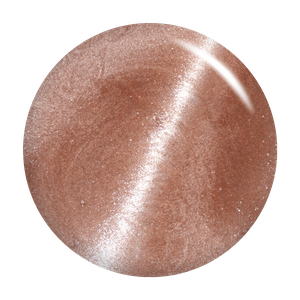
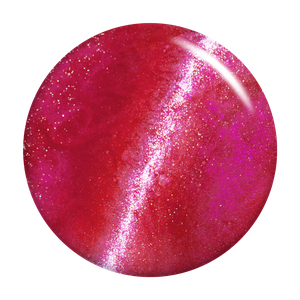
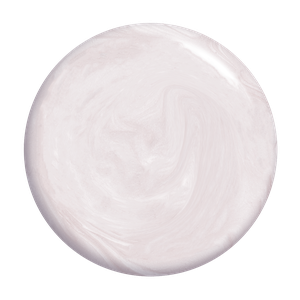
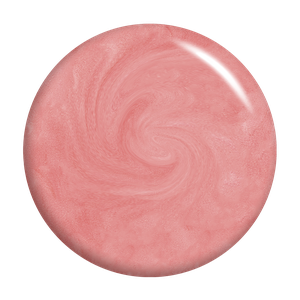
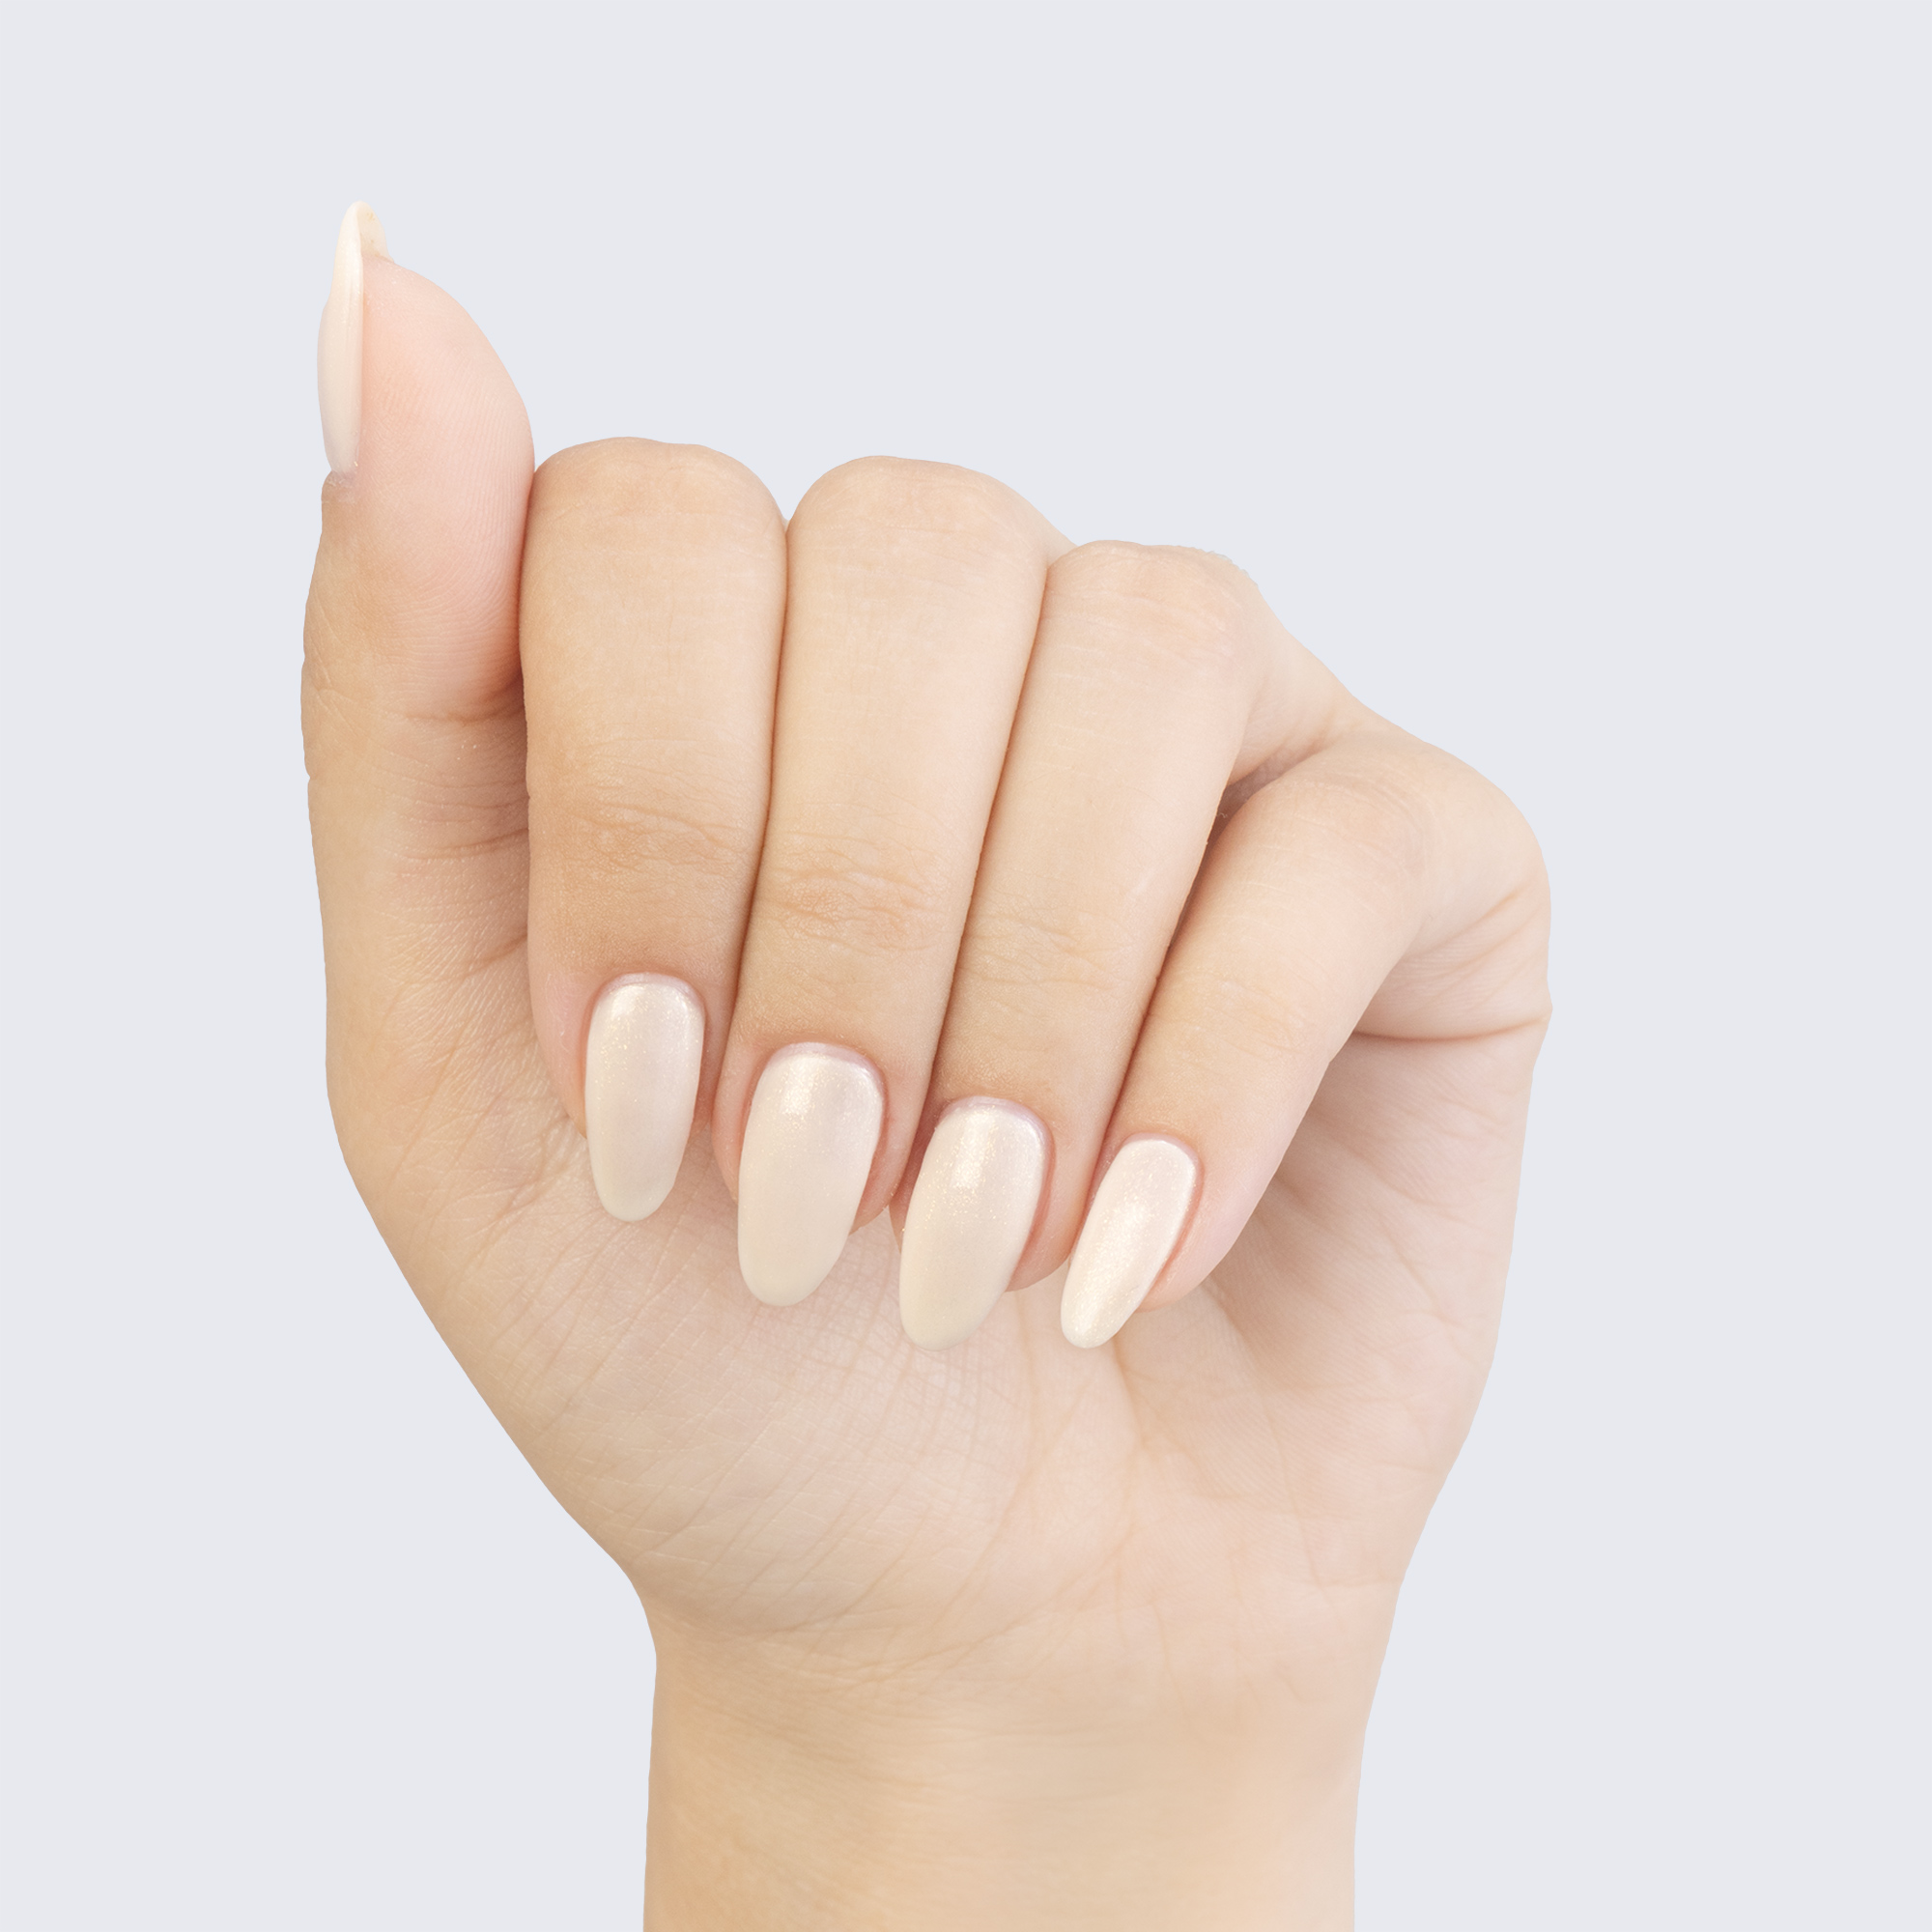
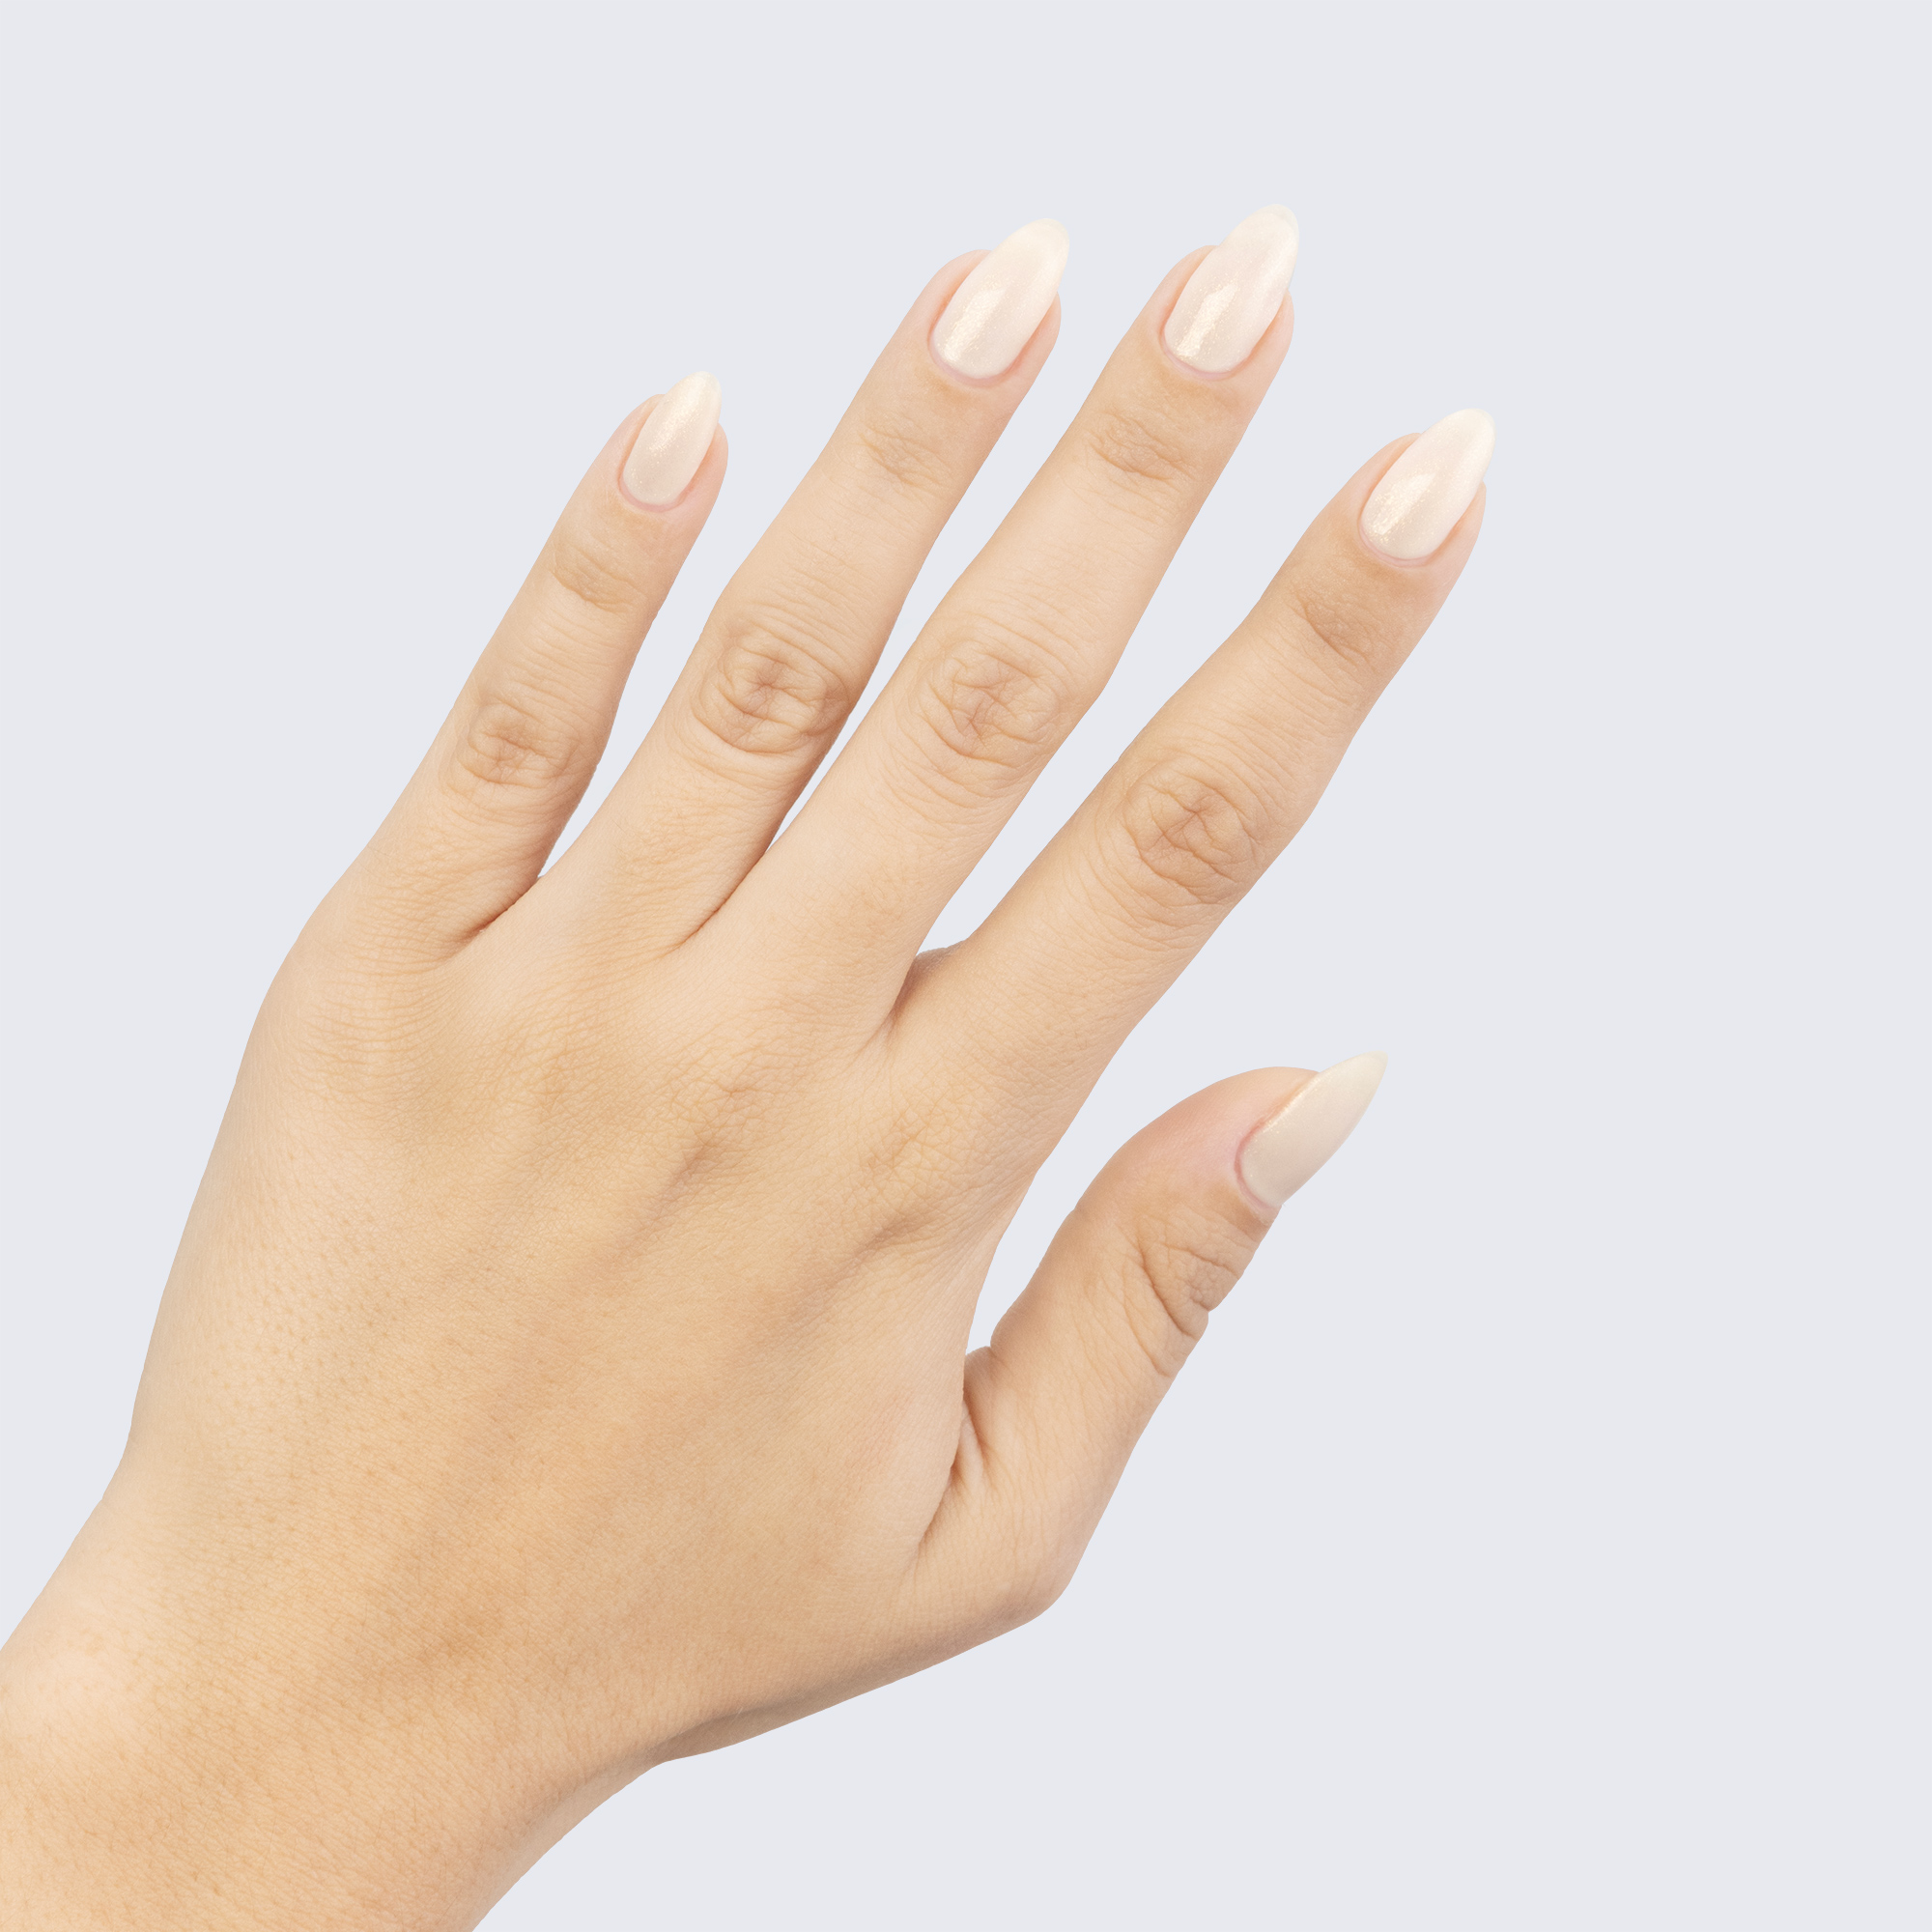
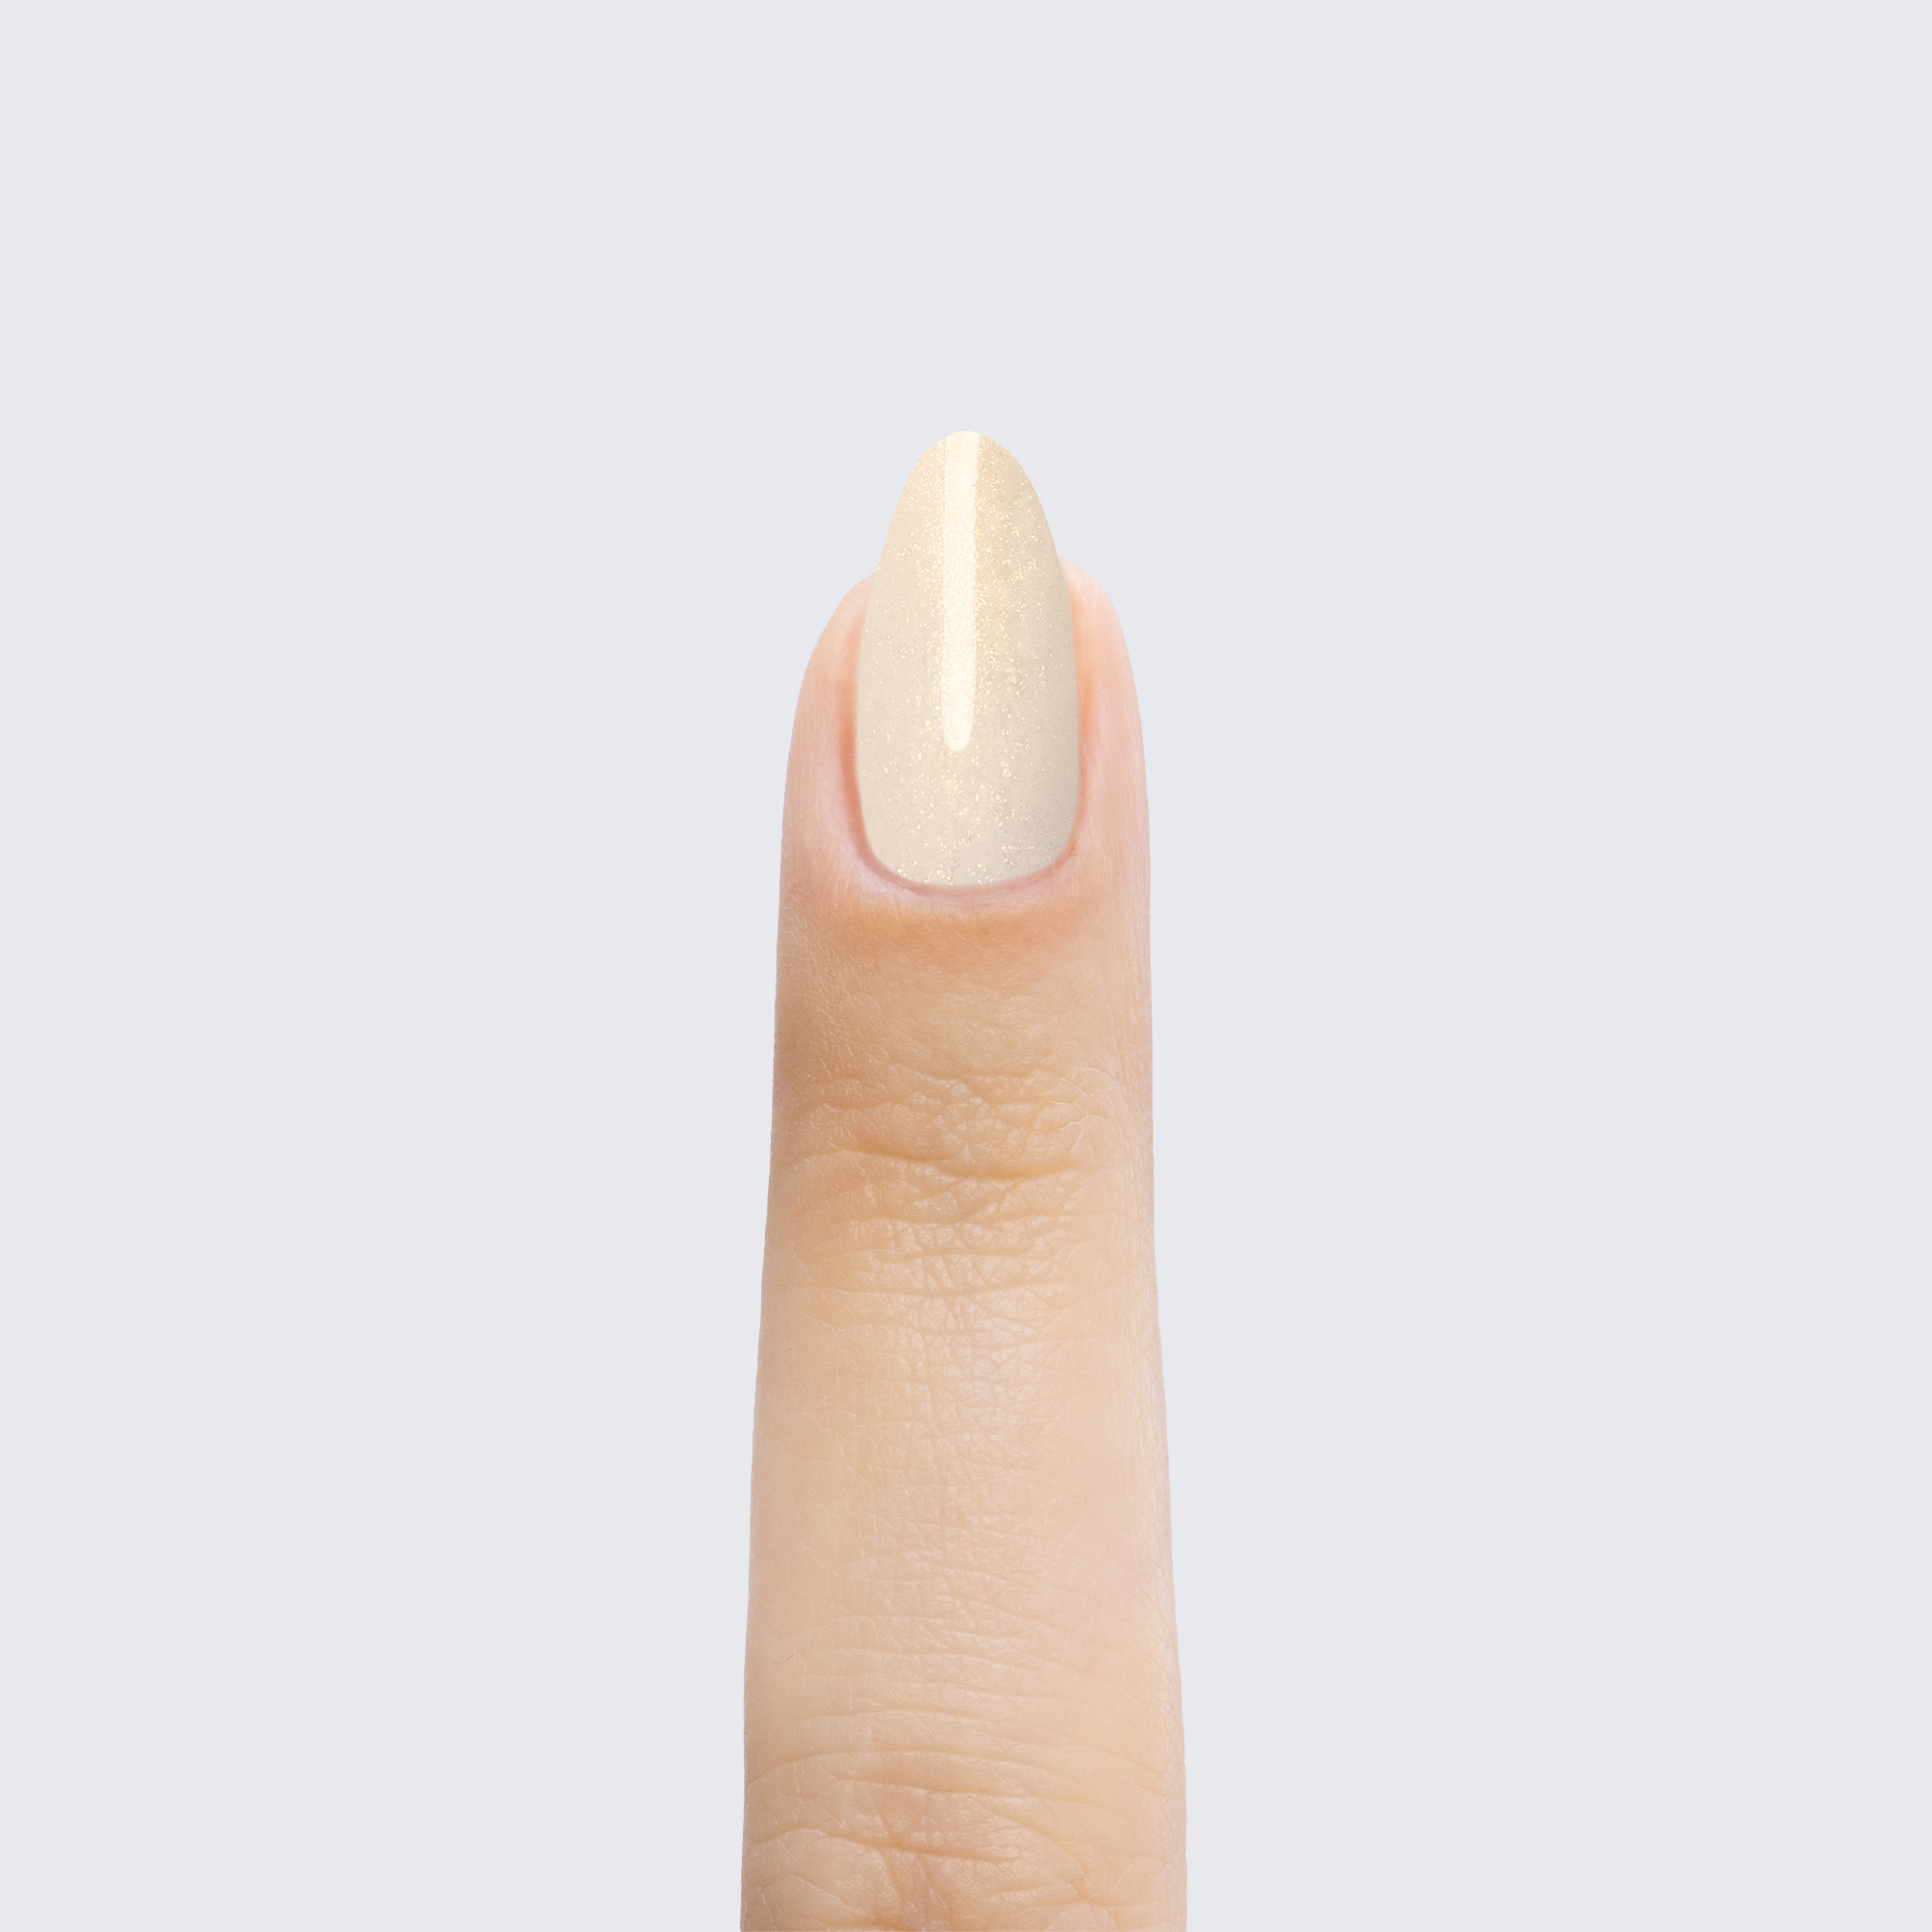
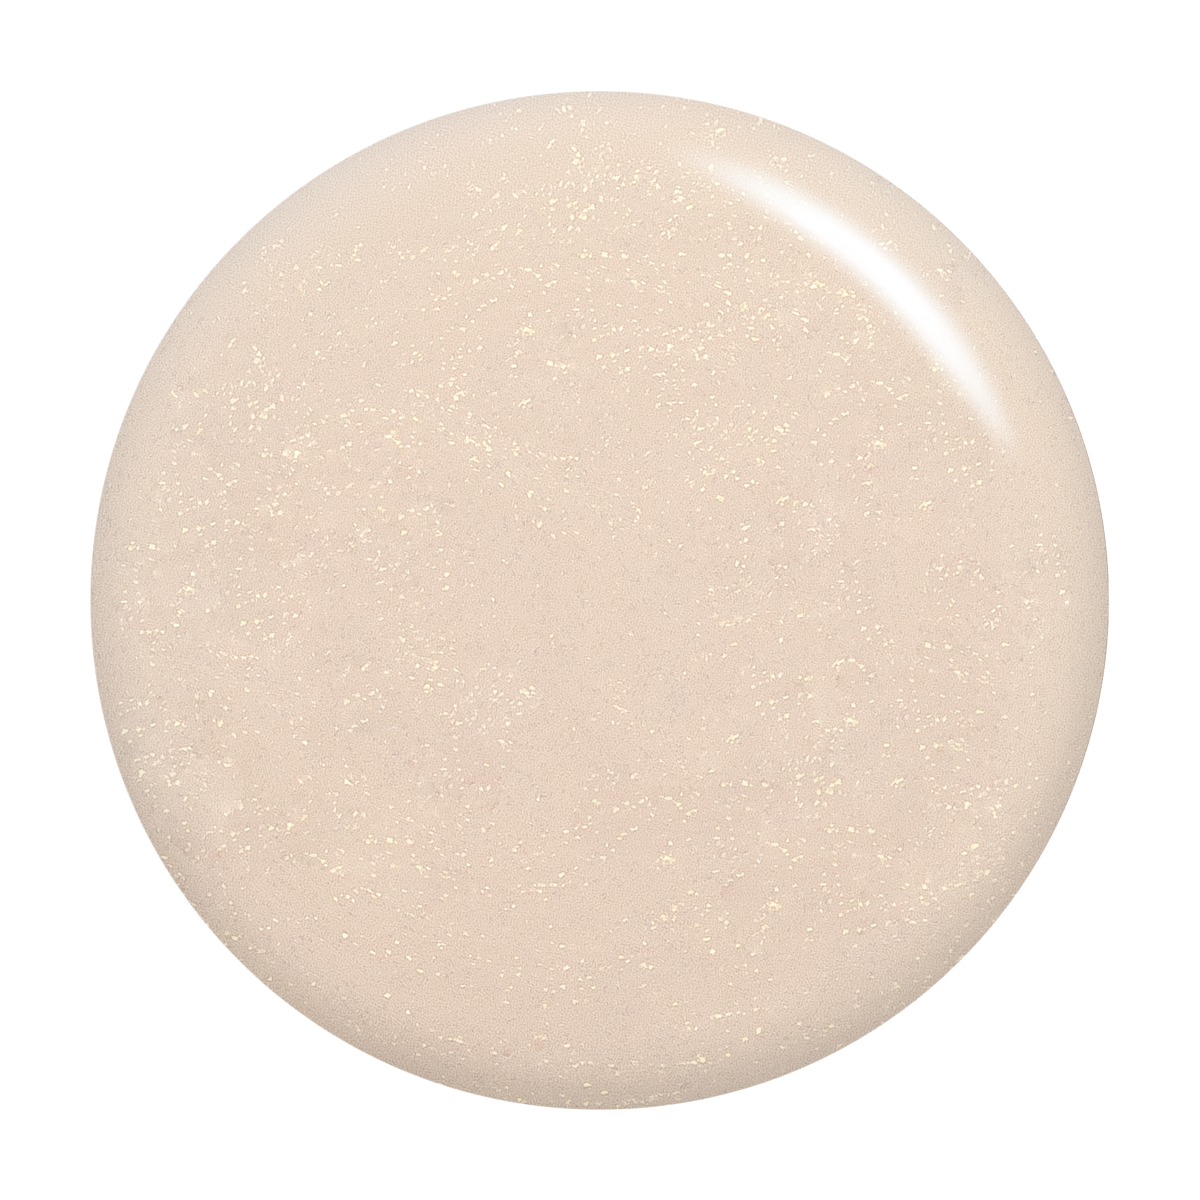
This lovely cream-toned polish is charmed with a soft golden shimmer.
Cream-white with gold shimmer. Light. Semi-translucent. Warm undertone.
#enchantégm
1. The nail should be smooth and prepped; if necessary, use a gel moment nail file to lightly smooth edges, being sure to file in one direction, to avoid splitting.
2. Using the cushioned side of the nail file, very lightly buff the shine off the nail surfaces, including the sides and corners. Do not apply pressure. You are only buffing to remove naturally occurring oil on your nail.
3. Cleanse the surfaces of the nails with
gel moment nail cleansers, making sure the nail is clean and completely dry in all areas before moving onto the next step.
4. Before gel polish application, gently roll the polish bottle between the palms of your hands. Avoid shaking or aggressively rolling, as this can produce air bubbles.
5. Apply a very thin coat of gel moment gel polish. Most colours will appear translucent when it is applied thinly. This is normal and applying additional thin layers later makes it easy to achieve the desired effect. When applying the gel polish be sure to avoid getting any polish on the surrounding skin or cuticles. To ensure a long-lasting chip-free manicure, apply polish to the free edge to
"cap the nail", taking care to avoid contact with the skin of your fingertip.
6. Cure your nails with a gel moment LED lamp according to the lamp's instructions. It will shut off automatically when the curing process is complete. Keep the bottle of polish away from the lamp during the curing process.
7. If you're applying additional coats of polish, repeat steps 5 and 6.